Magnetic photo albums are bad for your photographs. Learn why and how to remove the photos and put them into an archival alternative.
What is a Magnetic Album?
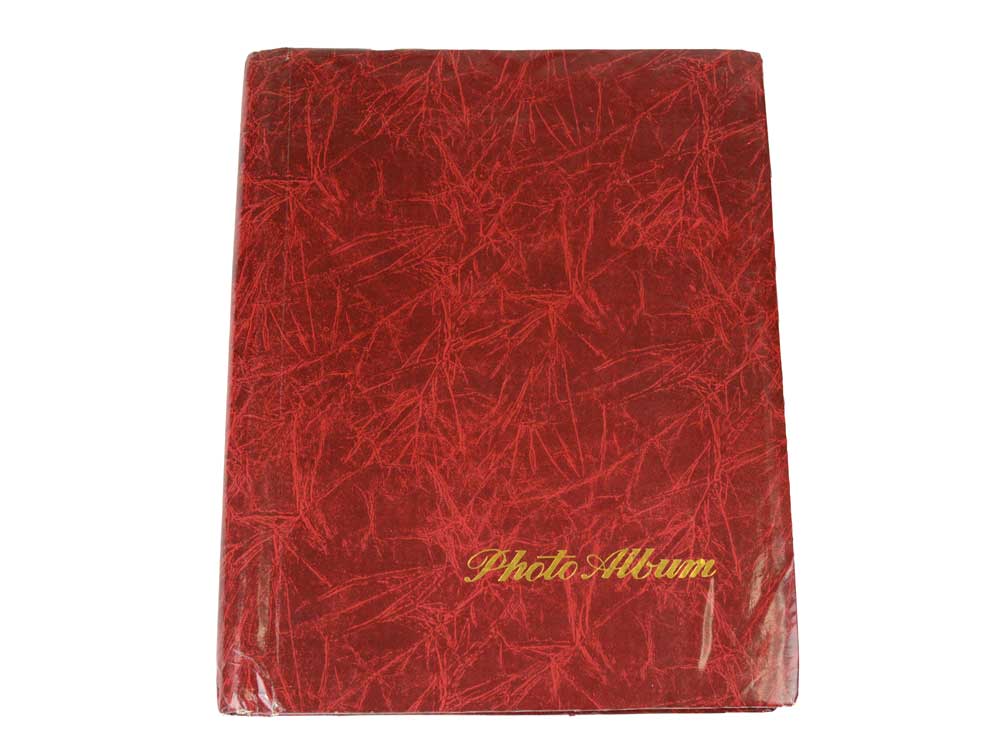
Popular from the 1960s onward, magnetic photo albums are mass produced, often spiral bound, self-adhesive books for storing one’s photos. The magnetic refers to the adhesive and the plastic overlay on each page. You would simple peel back the plastic sheet and adhere your photos to the pre-glued page then replace the plastic sheet over the top of them. The ease and simplicity of use, affordability, and the large variety of cover designs made these extremely popular for creating photo albums in the late 20th century.

As the first quarter of the 21st century comes to a close, fewer people print photos to put into albums. But companies are still making and selling magnetic albums and some label them as acid-free. Buyer beware. Find out if it has passed the Photographic Activity Test (P.A.T.). This blog post will discuss safe alternatives to magnetic albums.
Magnetic Photo Albums Are Bad for Your Photographs
Upon opening this magnetic photo album from the 1980s, we can see that it’s not in great shape. The inside cover and the edges of the first page show yellow staining, evidence of the high acid and lignin content of its materials and the adhesive oxidizing and breaking down.

Elements in these albums that can damage your photos include; cheap paper with high acid and lignin content, plastic that may not be archival and can off-gas, and the glue used for the self-adhesive to attach the photos. Depending on the storage conditions, the glue can either dry up and the photos become loose, or the bind can become stronger making it very difficult to remove the photos.

By just looking at the above pages the average person would likely question if their photos are safe being stored this way. Now that you know that they aren’t, we’ll go over how to remove your old photos from these pages and how to store them archivally.
How to Remove Old Photos from Magnetic Albums
If you are lucky, the adhesive has dried up and the photos simply come off the pages. If they are stuck to the pages you will need to try to gently separate them without damaging them.
Pro Tip: this is a good time to mention the importance of wearing gloves when handling photographs. Wearing cotton or powder-free nitrile gloves protects the photos from the naturally occurring oils on your hands.

There are three DIY methods you can try to help remove your photos from magnetic albums.
Floss
You can try a piece of unflavored dental floss. Hold it taut and gently work it under one corner of the photo, slowly working your way down to the bottom. If it gets stuck don’t force it. You don’t want to damage your photo.

Micro Spatula or Palette Knife
If there’s an artist in your household you might already have a palette knife laying around that you could try. We now sell a stainless steal Micro Spatula that can also be used to separate images from magnetic pages. The concept is the same as the dental floss but it might be easier to work with than the floss. Again, work slowly and use the spatula to gently separate the photo from the page.
The Freezer
Another method you can try is to put the album or page in the freezer for several minutes. You might be more successful putting pages in separately. Don’t leave it in there for more than five minutes. The cold, dry air can sometimes loosen the glue.
If none of these methods works you might want to get or make hi-res scans or photos of the album and then put it “as is” in an archival metal edge box.
Pro Tip: if you want to recreate the album in an archival Binder, keep the photos in order as you go or photograph the pages before disassembly to reference later
Archival Solutions for the Loose Photos

Now that your photos are out of the magnetic album, have a look at the front and back to assess their condition. You might find useful information written or printed on the back. The date May 1985 is when that photo was processed. On the left edge you can see staining from the album adhesive.
Even though the back of the photo feels smooth and not sticky, I’d still avoid storing them touching each other, like you might in the 4 x 6 Simple Kit, unless you put each photo in a 3-Sided Sleeve or Side Loading Print Sleeve, or put Archival Paper between each one as interleaving.

The closest thing to recreating your old album archivally would be to get an archival binder and archival binder pages. Since these photos were 3-1/2 x 5 I went with the top-loading Print Pages for that size. Check out Archival 3-Ring Binder Pages and Inserts to see more options.
I also opted to get the Card Stock Inserts to go between the back-to-back photos in the pocket. It’s not necessary but it is another layer of separation between the photos. The inserts are buffered with calcium carbonate so that will also help fight the acidity from the old adhesive. I chose black because that is our thinnest card stock.
We hope this has convinced you to ditch your once beloved magnetic albums. You can take photos of the cover and the pages if you want to “preserve” it digitally. Contact us if you have questions. We’re happy to help!