Professional framing can get expensive. Archival Methods’ offers everything you need to do your own archival framing. Click here for a comprehensive guide to our framing options. If you have a standard size image to frame you should check out our all-in-one Complete Frame Kits!
If you need a custom size frame – something other than the usual 11″ x 14″, 16″ x 20″, or 20″ x 24″ – read on for details about our custom ordering process.
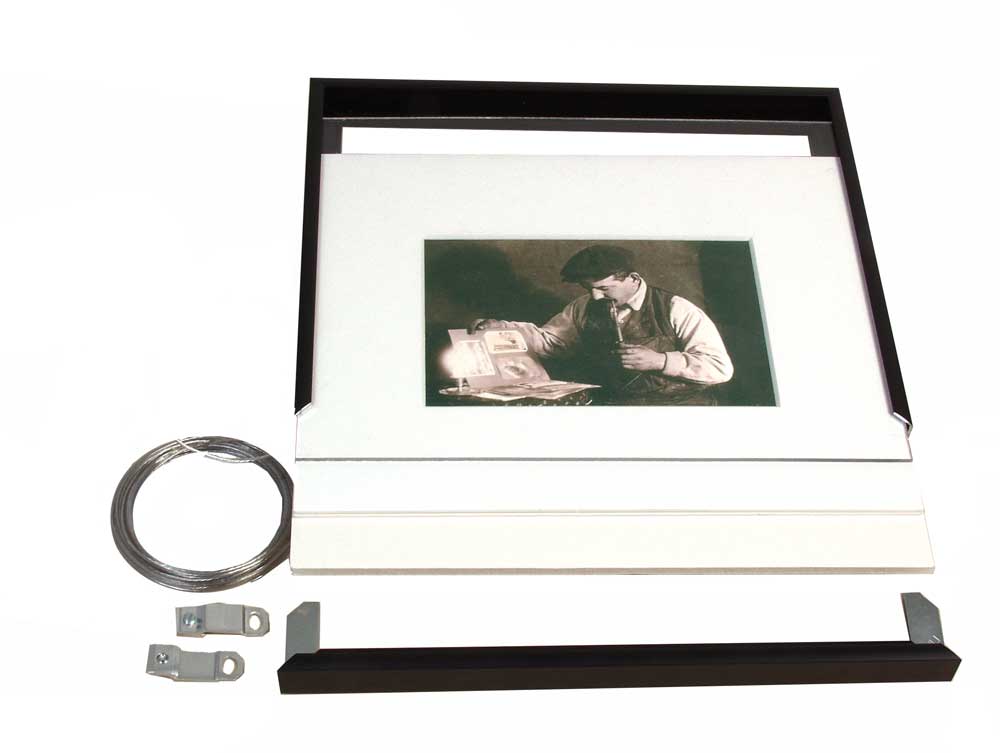
We have a simple system for ordering custom mats and custom frames. For complete archival custom framing, you’ll need to the following:
- frame and the hardware to assemble it
- archival window mat and backing board
- UV-filtering acrylic
- picture wire and hooks for hanging
How to Order a Custom Metal Frame
Custom metal frames are available in a variety of colors and profiles. Order them to your exact measurements. Our website is set up to make ordering your custom frames quick and easy.
Order your Custom Frame in 6 easy steps!
- Select your Frame Profile – simply click on the one you want
- Enter Frame Dimensions – first box is for whole numbers, second box is for fractions – the frame dimensions are the same as the glazing and mat board
- Select Frame Color – Matte Black, Anodic Black (Gloss), Silver, and Gold
- Frame Hardware is necessary to assemble your frame. The hardware check box is automatically selected. If you order bulk hardware, you will need to uncheck this box.
- Accept Terms & Conditions – Read and click to confirm you agree to the ordering terms.
- Review Order & Select Quantity – Default quantity is 1. Change the quantity, if needed. Look over the frame data to make sure it is all correct. Then click Add to Cart.


Matting your Artwork
Types of Mat Board
Use archival mats to protect and showcase your photographs, artwork, and memorabilia. Archival Methods offers two types of archival mat boards – Museum Board or Conservation Board.
Museum Board is a 100% cotton mat board. Conservation Board uses alpha-cellulose pulp from purified wood fiber. Conservation Board is more economical than Museum Board, yet it has the same stable and long-lasting properties.
We offer mat board in black and several “white” shades from our coolest, Polar White, to our warmest, Natural White, which has a cream tone. Order Mat Board Samples to get the most accurate match for your artwork.

No filler core is used in our mat boards. When cutting a window mat the bevel cut will exhibit the same solid color as the top and bottom of the board surface.
We cut window mats in many different sizes and shapes with our precision mat cutting machine. Order standard window shapes (rectangle, square, round, and oval) directly on our Custom Mat Cutting order form. If you want more than one window on a single mat, submit the Multi-Window Mat Cutting order form and we will send you a quote.
How to Order a Custom Archival Window Mat

- Select either Rectangular/Square or Oval/Circle for the shape of your window
- Select Mat Board for your window
- Select Backing Board, or no backing
- Enter the exterior Height and Width dimensions for your mat – this dimension should be the same as the custom frame and the glazing (glass or acrylic).
- Enter the Height and Width dimensions for your window
- Select Position of your window, centered or weighted
- Select if you’d like your window mat Hinged to the backing board
- Select the Quantity you want
- Click to Confirm you accept our terms and conditions
- Click Add to Cart button


Additional Ordering Information


We hope you’ve found this blog post helpful. If you have any questions, please call or email us.